Transforming the look of your home with a fresh coat of paint is one of the most effective ways to refresh any space. While many homeowners strive for a flawless, professional-grade finish, achieving perfectly smooth walls can feel daunting without the right tools and techniques. For those searching for the best methods to upgrade their painting skills, exploring Paint Rollers for Smooth Finish is a frequent starting point. Understanding how to use these specialized rollers can make all the difference between an amateur result and a wall that rivals the work of a seasoned professional.
Why the Right Paint Roller Matters
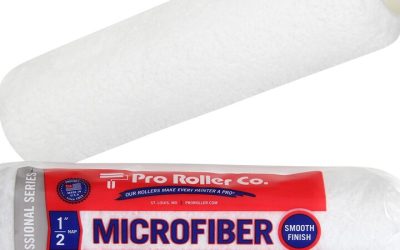
Choosing the right paint roller is crucial for attaining a smooth, even finish on your walls. Not all rollers are created equal—different roller types and covers are designed for specific surface textures and paint types. Rollers with a shorter nap (the thickness of the roller cover) are best suited for smooth surfaces like drywall, while those with a longer nap are intended for textured walls or ceilings.
Selecting a quality roller with a 1/4-inch or 3/8-inch nap ensures minimal stippling and a uniform paint application. Microfiber and foam rollers are popular choices for their ability to lay down paint evenly and reduce visible roller marks. Investing in the correct roller saves time, reduces frustration, and delivers a more professional appearance.
Steps to Achieve a Pro-Level Smooth Finish
A smooth wall finish depends not only on the roller itself but also on proper preparation and painting technique. Follow these essential steps for optimal results:
- Preparation is Key
- Start by cleaning your walls to remove dust, grease, or debris.
- Repair any holes, cracks, or imperfections with spackle and sand them smooth.
- Wipe away sanding dust with a damp cloth and let the wall dry completely.
- Prime the Surface
- Applying a quality primer creates an even base, helping the paint adhere and minimizing surface imperfections.
- Allow the primer to dry thoroughly before proceeding.
- Choose the Right Roller and Paint
- Select a high-density foam or microfiber roller with the appropriate nap length for your wall’s texture.
- Opt for a high-quality interior wall paint for the best finish.
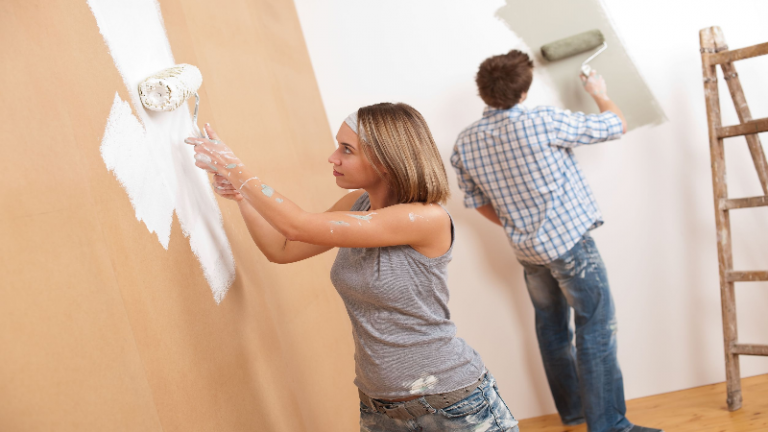
- Use Proper Technique
- Load the roller evenly with paint, rolling off excess to prevent drips.
- Apply paint in a “W” or “M” pattern to distribute it evenly before filling in the gaps with horizontal or vertical strokes.
- Work in small sections, maintaining a wet edge to avoid lap marks.
- Finish with Care
- Allow the first coat to dry completely before applying a second coat if needed.
- Lightly sand between coats with fine-grit sandpaper for an ultra-smooth result.
Tips for Maintaining a Flawless Finish
- Avoid pressing too hard with the roller, as this can create texture or roller marks.
- Work in natural daylight when possible to spot imperfections as you go.
- Clean rollers thoroughly after use to maintain their quality for future projects.
Achieving a professional-level wall finish at home is within reach when you use the right tools and follow proven techniques. By carefully preparing your surfaces, selecting the ideal roller, and applying paint with precision, you can enjoy smooth, beautiful walls that elevate your home’s aesthetic. With a little patience and attention to detail, your next painting project can deliver results you’ll be proud to show off.