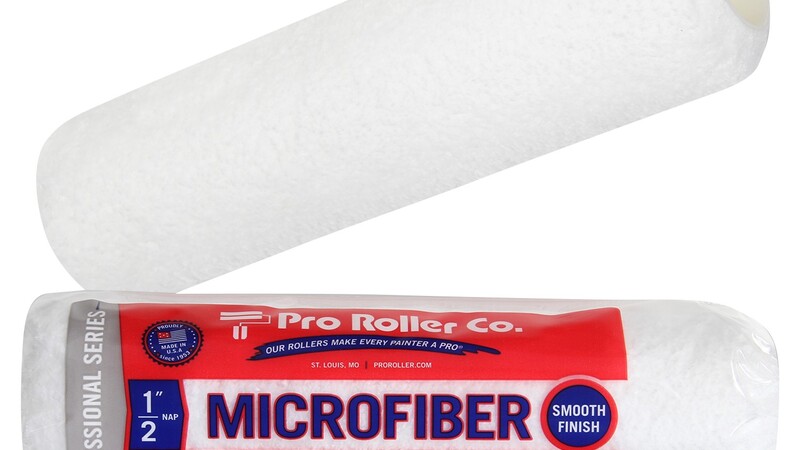

A clean, even garage floor starts with the right tools and careful preparation. When comparing options online, searching for the Best roller for epoxy paint can help you find a cover suited to the coating and the condition of your concrete. The right roller helps spread epoxy consistently, while the wrong one can leave lint, bubbles, or uneven texture behind.
Choose a cover that suits the surface
For most smooth, properly prepared garage floors, a 3/8-inch nap roller cover is a practical starting point. It holds enough coating to maintain a steady application without leaving a heavy stippled finish. If the concrete is exceptionally smooth, a 1/4-inch nap may work well; lightly textured concrete may need a 1/2-inch nap to reach shallow pores. Always check the epoxy manufacturer’s instructions, since coating thickness and recommended tools vary by product.
Choose a high-quality, low-lint cover designed to resist the chemicals in your specific coating. Epoxy can be demanding on materials, so a cover that sheds fibers or breaks down during application can spoil the finish. Before starting, remove loose lint by wrapping the cover with painter’s tape and peeling it away. Avoid using a foam roller unless the coating directions specifically recommend one; some foam covers can introduce bubbles or fail when exposed to certain epoxy formulas.
Select a useful roller size and frame
A 9-inch roller is a good fit for most residential garages. It covers floor space efficiently while remaining manageable around walls, posts, and other obstacles. A sturdy frame with a comfortable handle makes it easier to keep consistent pressure, and an extension pole can reduce back strain across a large area. Use a separate brush for edges and tight corners rather than forcing the roller into places it cannot reach cleanly.
Prepare before opening the coating
Good tools cannot compensate for poor surface preparation. Remove oil, dirt, and old paint, then follow the coating instructions for cleaning, repairing cracks, and etching or grinding the concrete. The floor must be fully dry before application. Check for moisture as directed by the product manufacturer; trapped moisture can interfere with adhesion.
Gather everything before mixing. Many epoxy products have a limited working time once combined, so plan the application route and have a clean roller cover, tray or bucket grid, brush, and protective equipment ready. Mix the components in the stated proportions and for the specified time. Don’t thin the coating unless the instructions allow it.
Apply evenly for a smoother finish
Cut in around the perimeter first, then work across manageable sections. Load the roller evenly without saturating it, and spread the coating in a thin, consistent layer. Maintain a wet edge by overlapping each pass slightly; this helps prevent lap marks as the epoxy begins to set. Once a section is covered, lightly back-roll it in one direction to even out the texture, taking care not to overwork the material.
Keep an eye out for lint, roller marks, and bubbles as you go. Remove any visible fibers promptly with a clean tool, and follow the product directions for recoating windows and drying time. If a second coat is required, use a fresh cover and apply it only when the first coat is ready.
The right nap, a durable low-lint cover, and a well-prepared surface all contribute to a smooth, durable garage floor. Match the roller to the concrete and coating instructions, keep a steady wet edge, and avoid rushing the application.